Note: This post provides a general overview of the project. The source code and instructions for setting up your own rover can be found here.
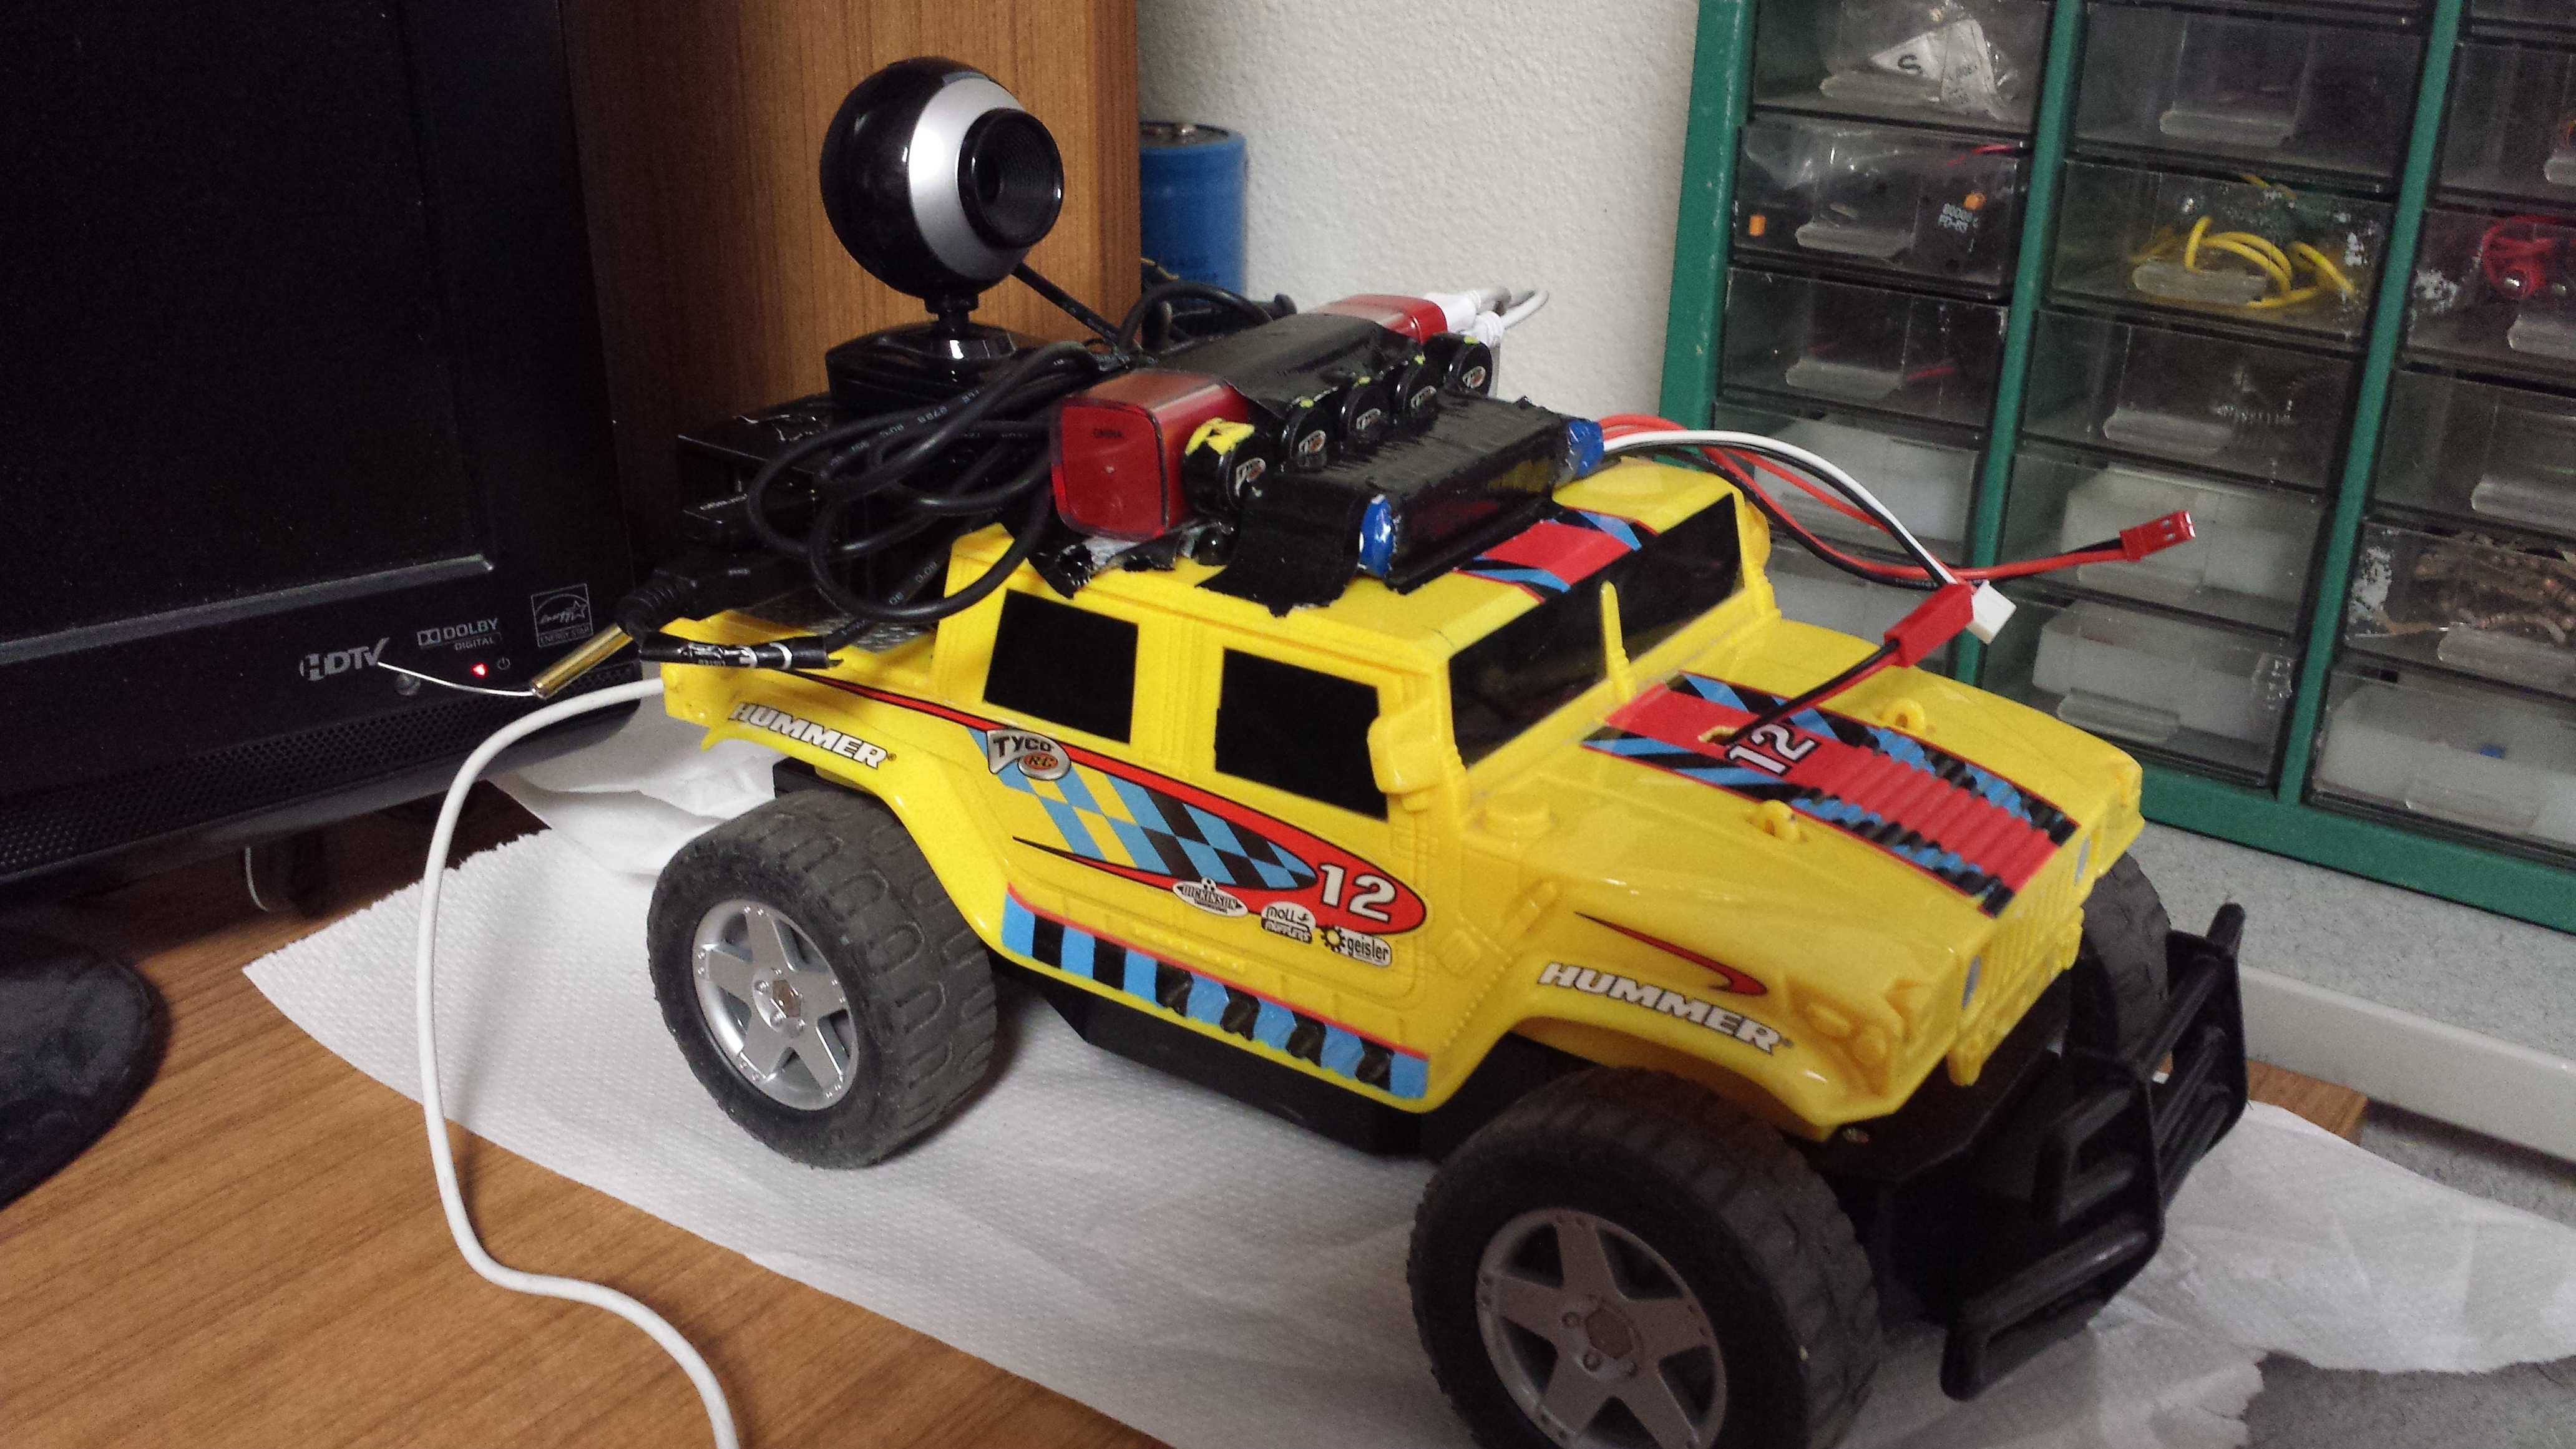
One day, back in April of this year, I was out salvaging for electrical parts and came across an old RC car. I decided it would be fun to get it up and running again, so I got a Sabertooth motor controller and an RC controller and got it driving around. This was a lot of fun, but I decided what the car really needed was to be able to stream video from a webcam. So I pulled out an old Raspberry Pi Model B, slapped it and a webcam on top of the RC car, and got it to stream video using Motion JPEG. From there, feature after feature was added to the rover, and the project snowballed into a full blown web-controlled robot.
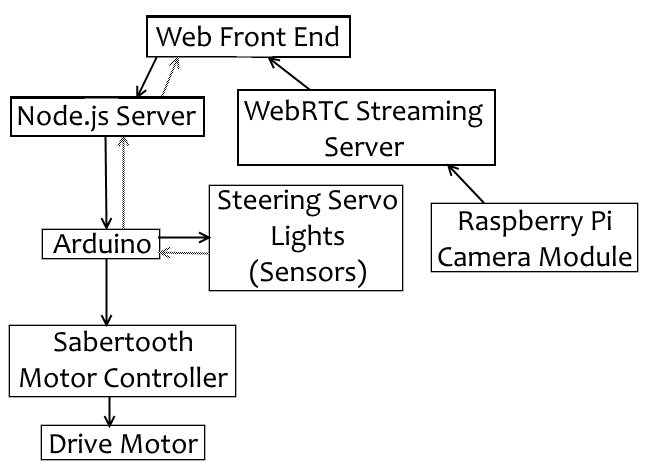
In the most current version, the user controls the robot from the web interface. From the web interface the user sends robot commands to a Node.js server using web sockets, and receives video taken with a raspberry pi camera module from a WebRTC streaming server. Both of these servers are running on a Raspberry Pi 2. The Node.js server sends commands to an Arduino Mega over the serial port, and the Arduino controls the steering, lights, and in the future will read in sensor data. The Arduino sends drive commands to the Sabertooth motor controller, which tells the drive motor what direction to go in and how fast to go.
Node.js Server
Node.js is a framework used to build single-threaded, non-blocking network applications. Since it doesn’t have the overhead of threads, the raspberry pi has more power available to do video processing, and since the video streaming is quite taxing on the pi, extra power is always good. Web sockets connect the client and the server and allow both sides to send data at any time. This is opposed to the traditional method of long polling, in which the client sends a request to the server, and if there is an update in a set amount of time the server sends it to the client, otherwise it terminates the connection. Web sockets are lower latency because they do not have the overhead of HTTP.
When a user sends a command to the robot, the web interface sends a collection of JSONs, simple key-value pairs, to the server, containing the command and any needed information. The server then parses these JSONs into a serial packet and sends it over the serial port to the Arduino.
Node.js also has a great package manager, npm, which makes installing extra packages for the server easy. This project uses three different node packages:
- express: Provides the basic framework for running the web server. It is self-described as a small, robust, high performance web framework. Express makes it easy to set up a web server.
- socket.io: Makes implementing web sockets quick and easy.
- serialport: This module allows the node.js server to send data to and read data from the Arduino over the serial port.
I originally looked into using the Johnny-Five library to control the robot, but found it too limited for what I wanted to do.
WebRTC Streaming Server
WebRTC is an exciting new API that allows for low latency, cross platform voice and video communications without the need for plugins. The WebRTC streaming server was set up using UV4L, which consists of drivers for the Rasberry Pi Camera Module and extensions for the streaming server. WebRTC has higher quality and lower latency than MJPEG, and also supports two way audio (talking through the robot, a super cool feature that will be implemented soon). However, WebRTC requires additional servers (STUN and/or TURN) to work across different networks while MJPEG does not, and the current implementation for this robot does not have those servers set up. Luckily, the UV4L streaming server also supports MJPEG streaming, so it is easy to switch if cross-network video is needed.
Physical Assembly
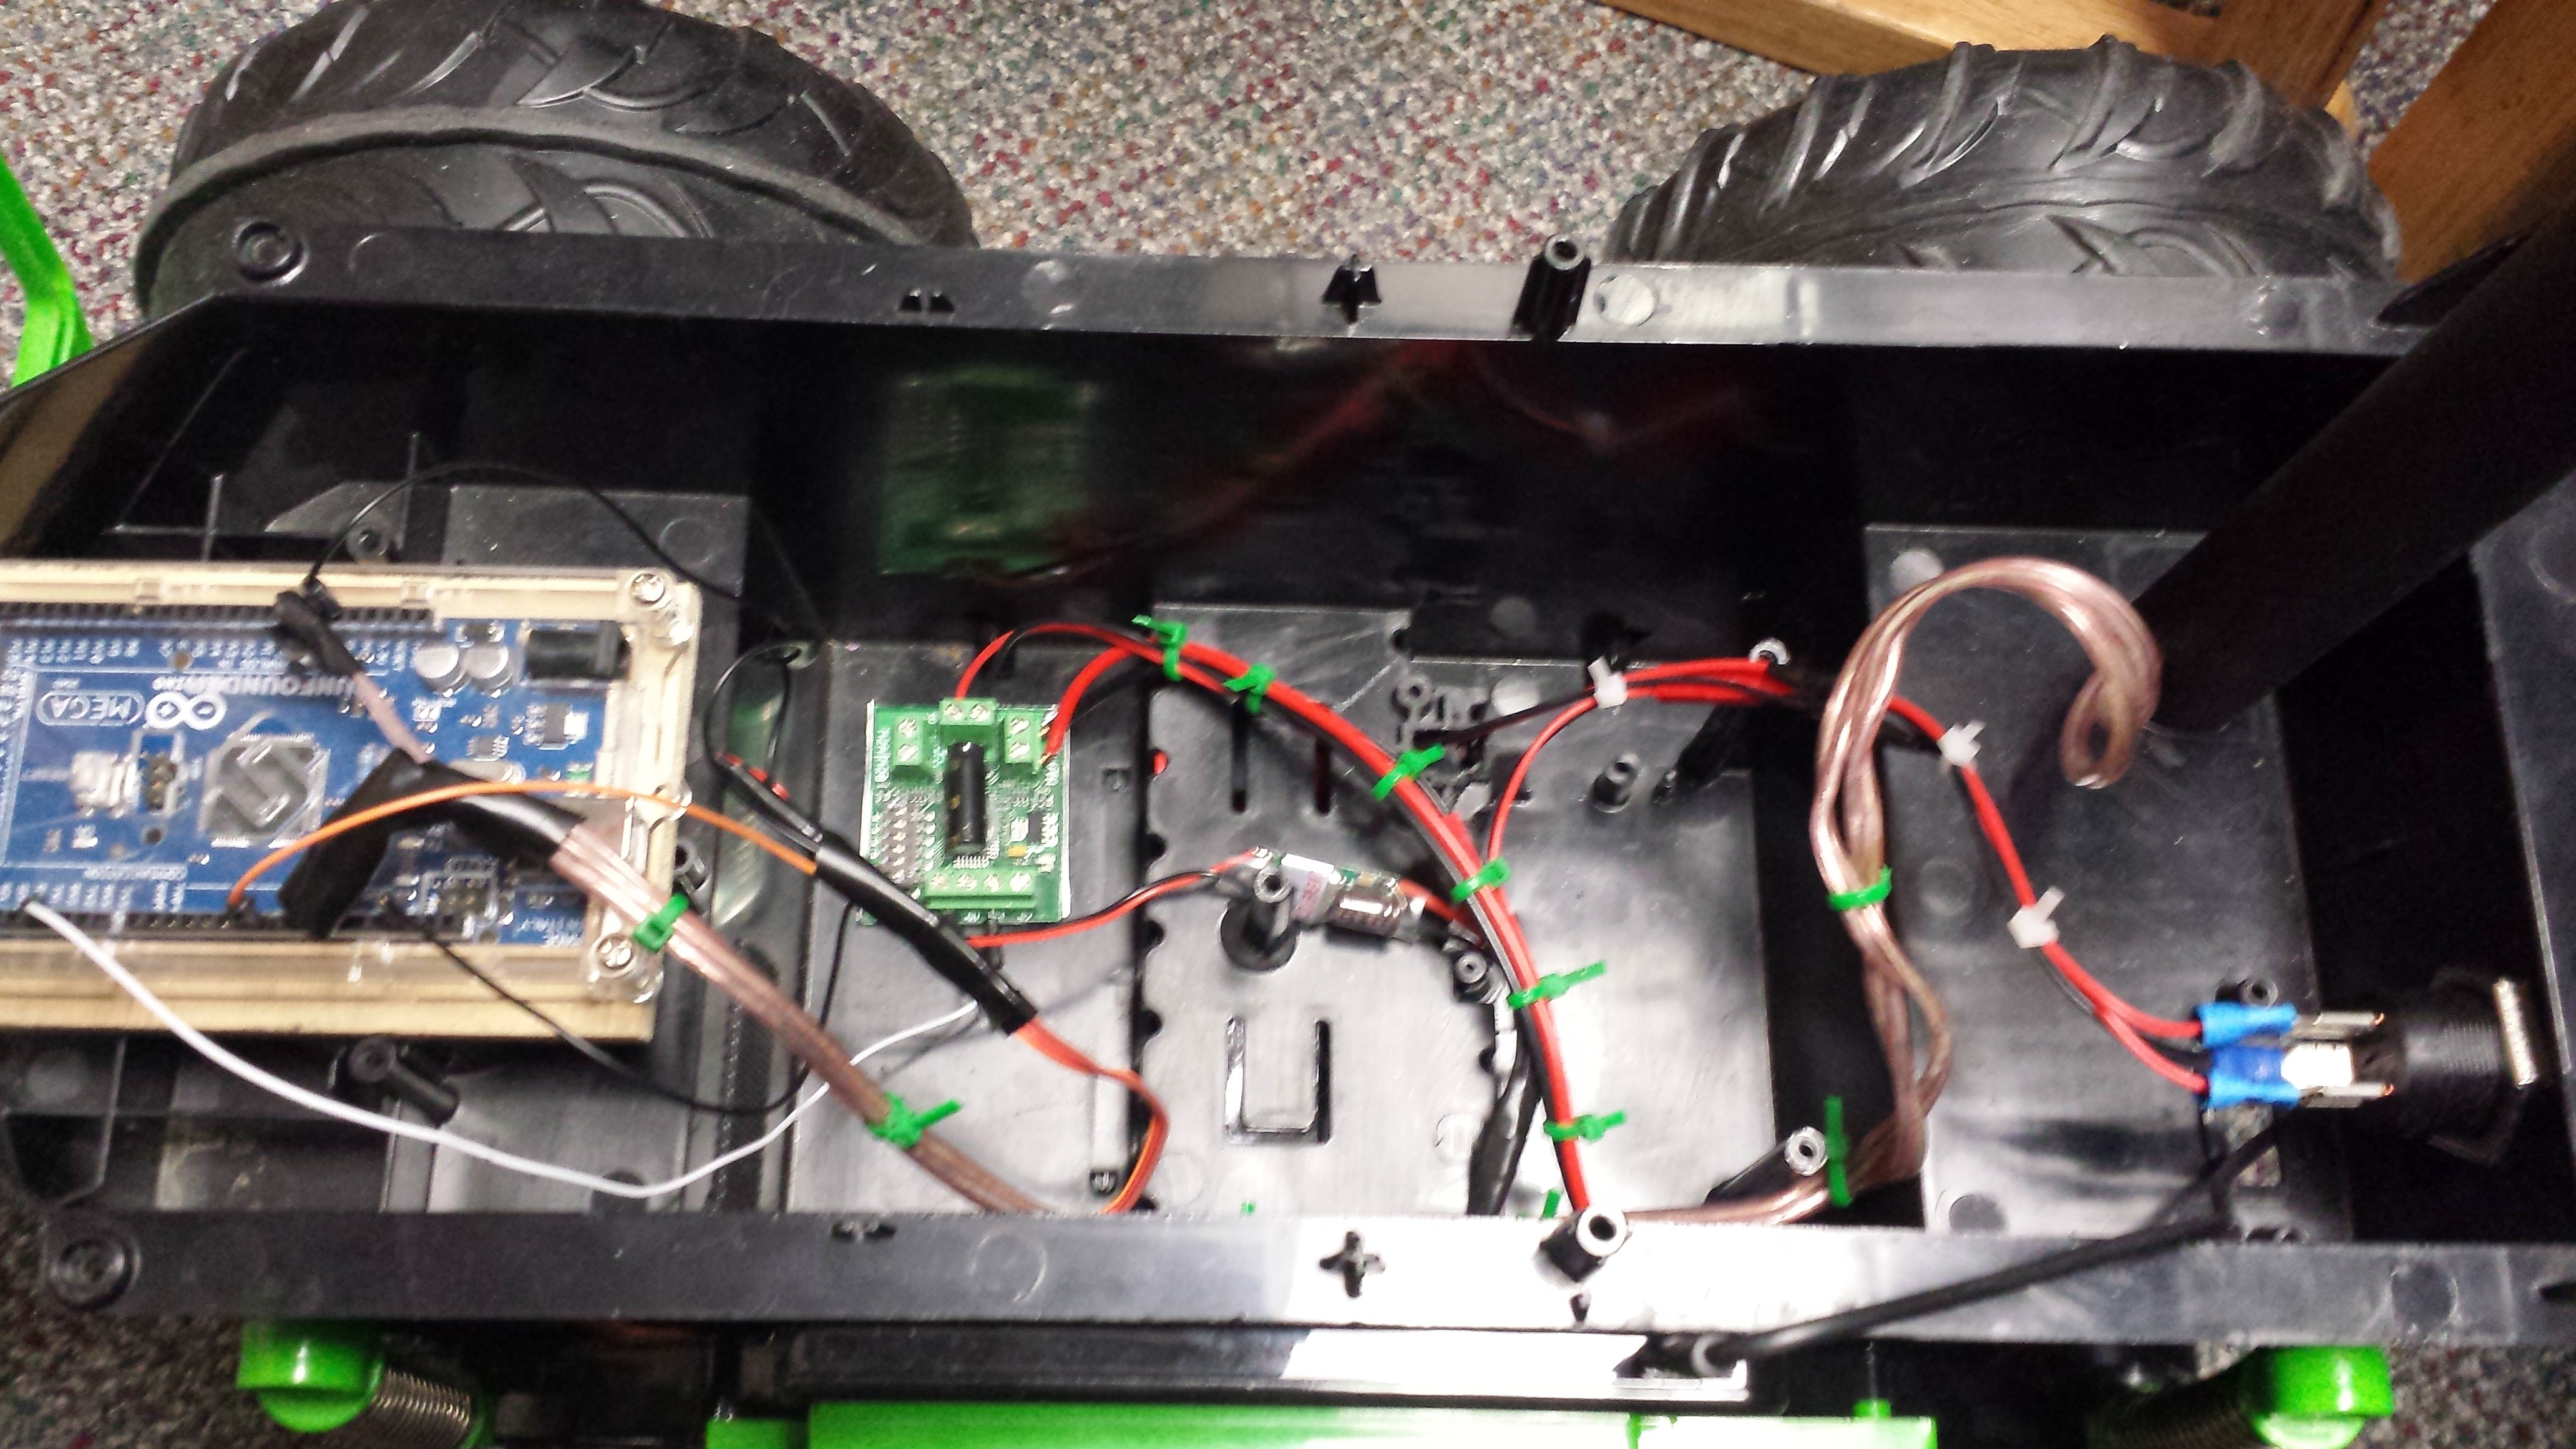
I started with an old RC car that I picked up at a thrift store for $5.00. I gutted out the insides, then hooked up the drive motor to the Sabertooth. I then hooked up a LiPO battery to the Sabertooth, and included a button with an LED to make turning the robot on and off simple. Without the button, you would have to plug and unplug the battery every time, and if you forget to unplug the LiPO it will discharge completely, making it dangerous to recharge.
The car originally was steered with a motor, but the gears kept grinding, so I modified it to be steered with a servo. The servo needed to be high torque, so it could not be powered by the Arduino. It is powered by the LiPO battery with the help of a UBEC, which can take in 6-23 V and put out 5 V.
The Arduino Mega sends drive commands to the Sabertooth over a serial connection using one of the mega’s extra hardware serials. It also controls the steering servo and an RGB LED that is mounted on top of the robot (and is only there because I thought it looked cool).
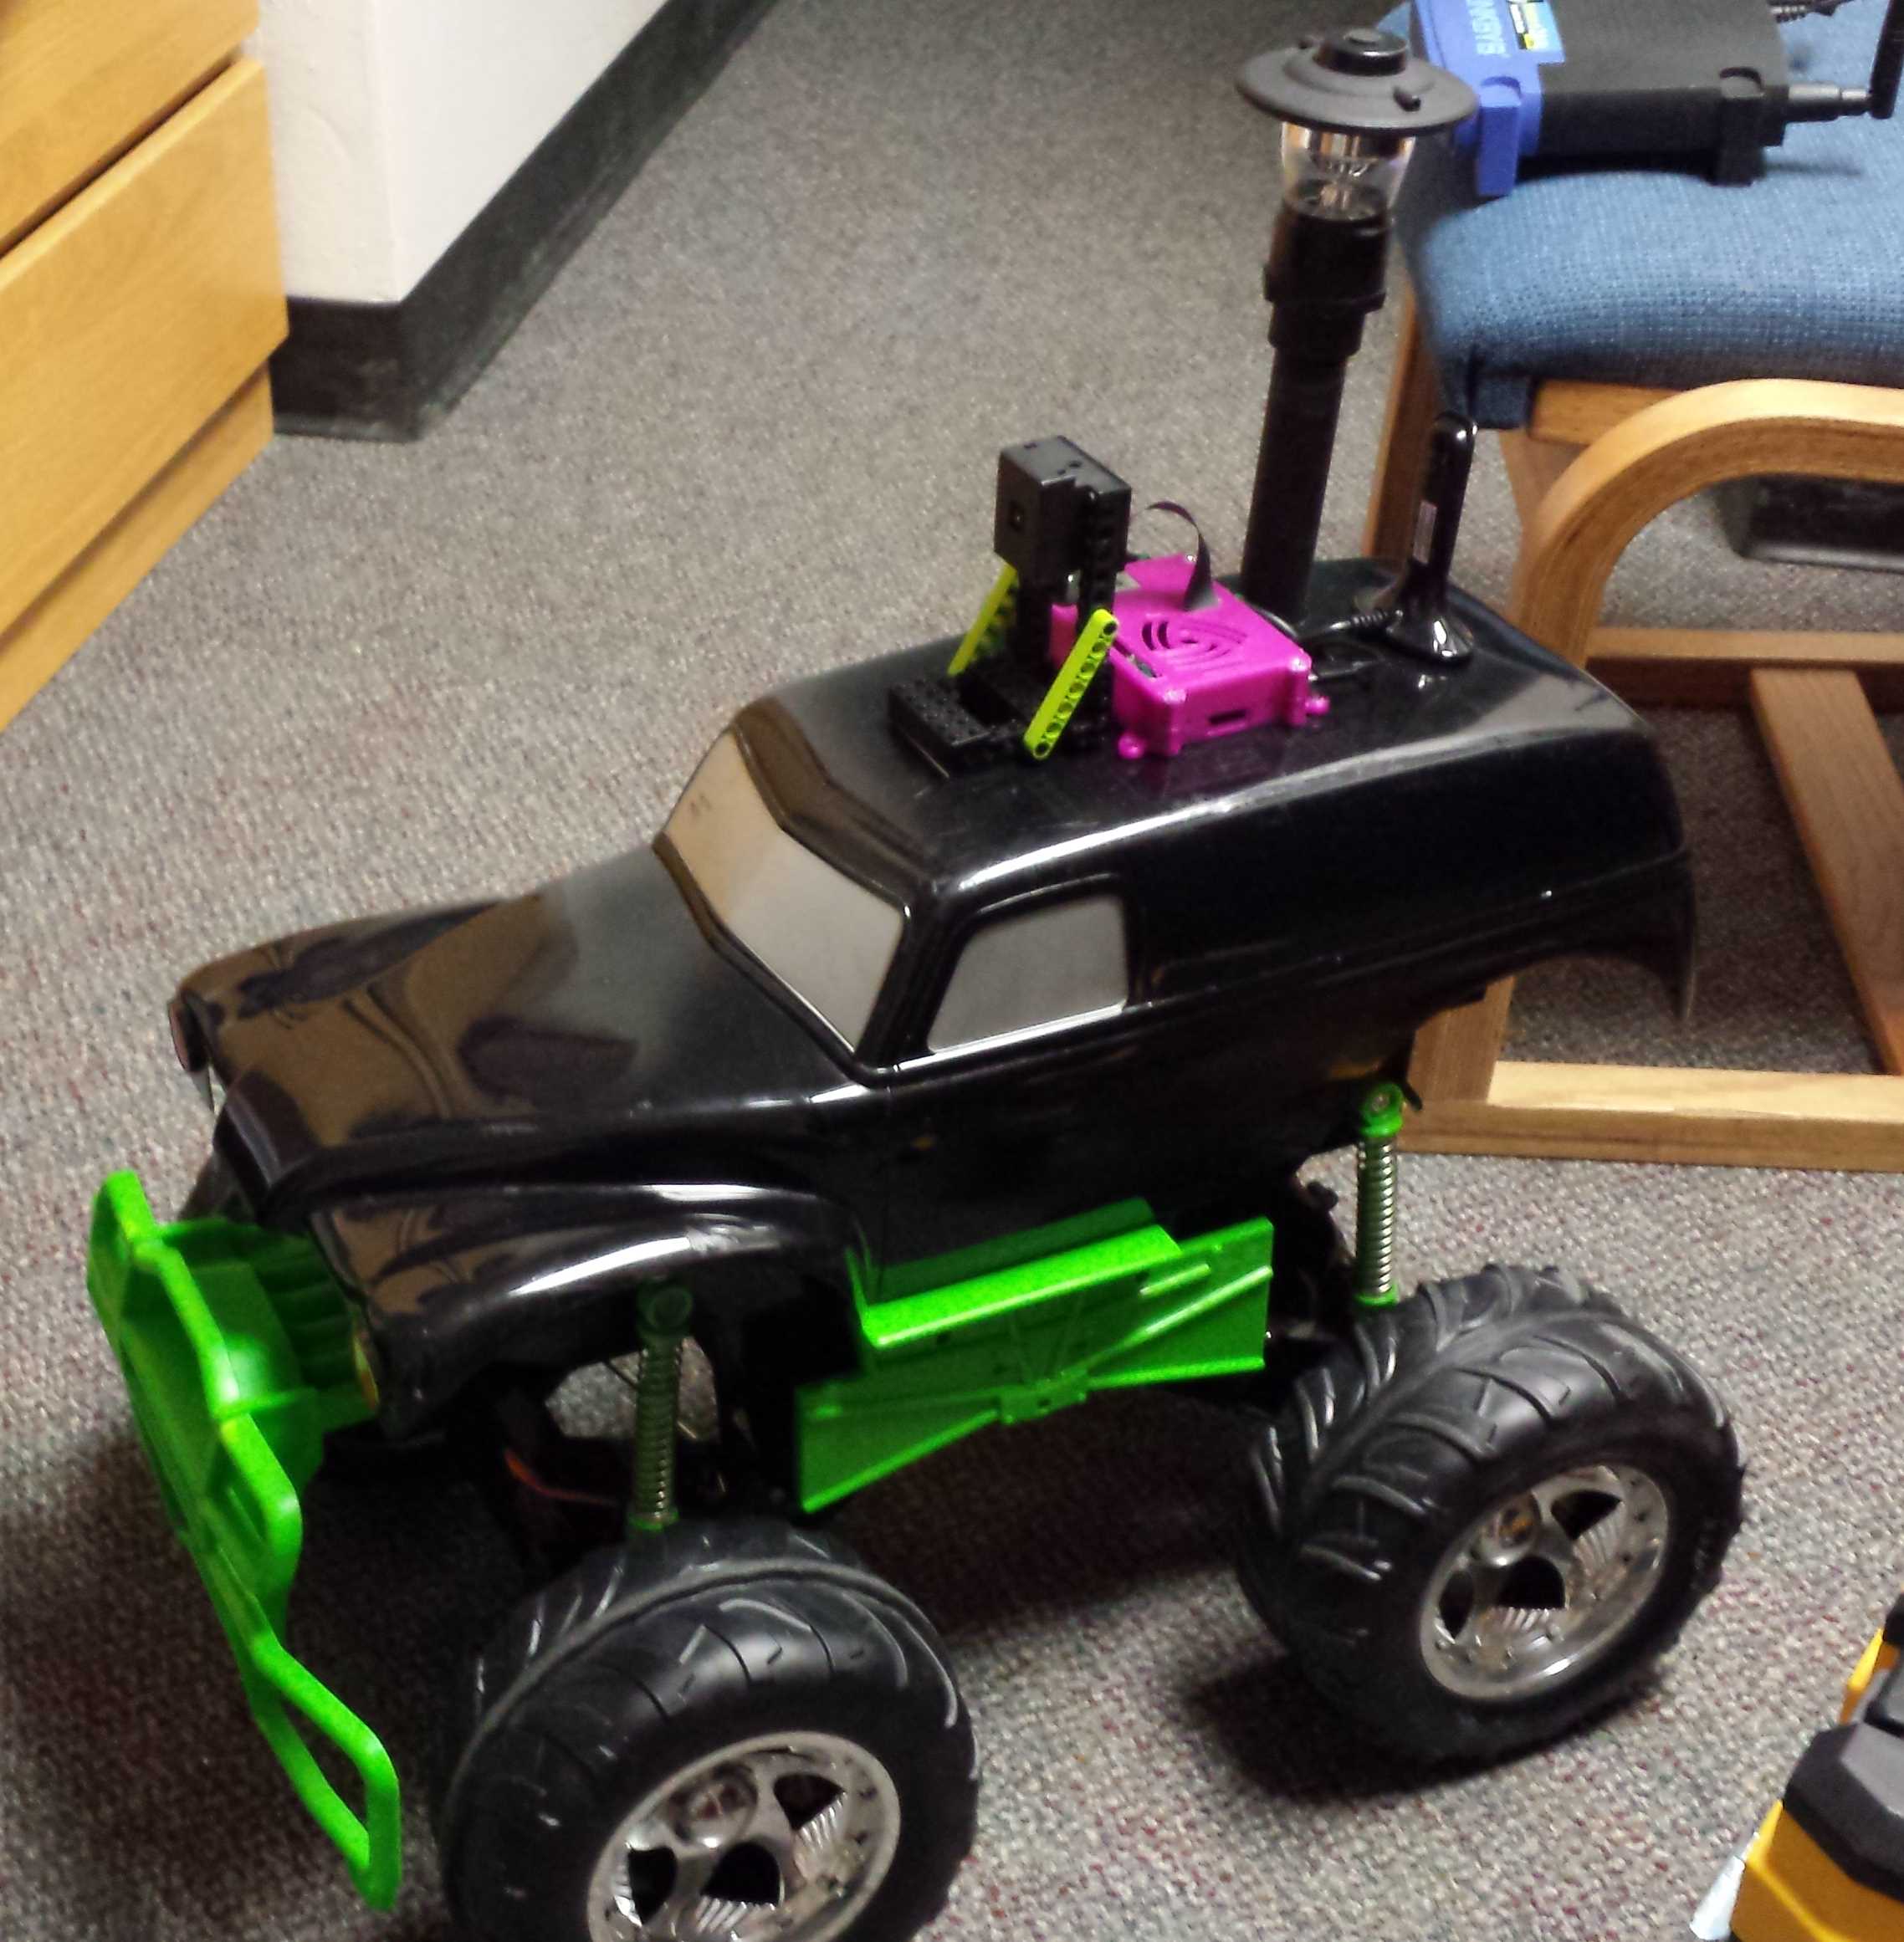
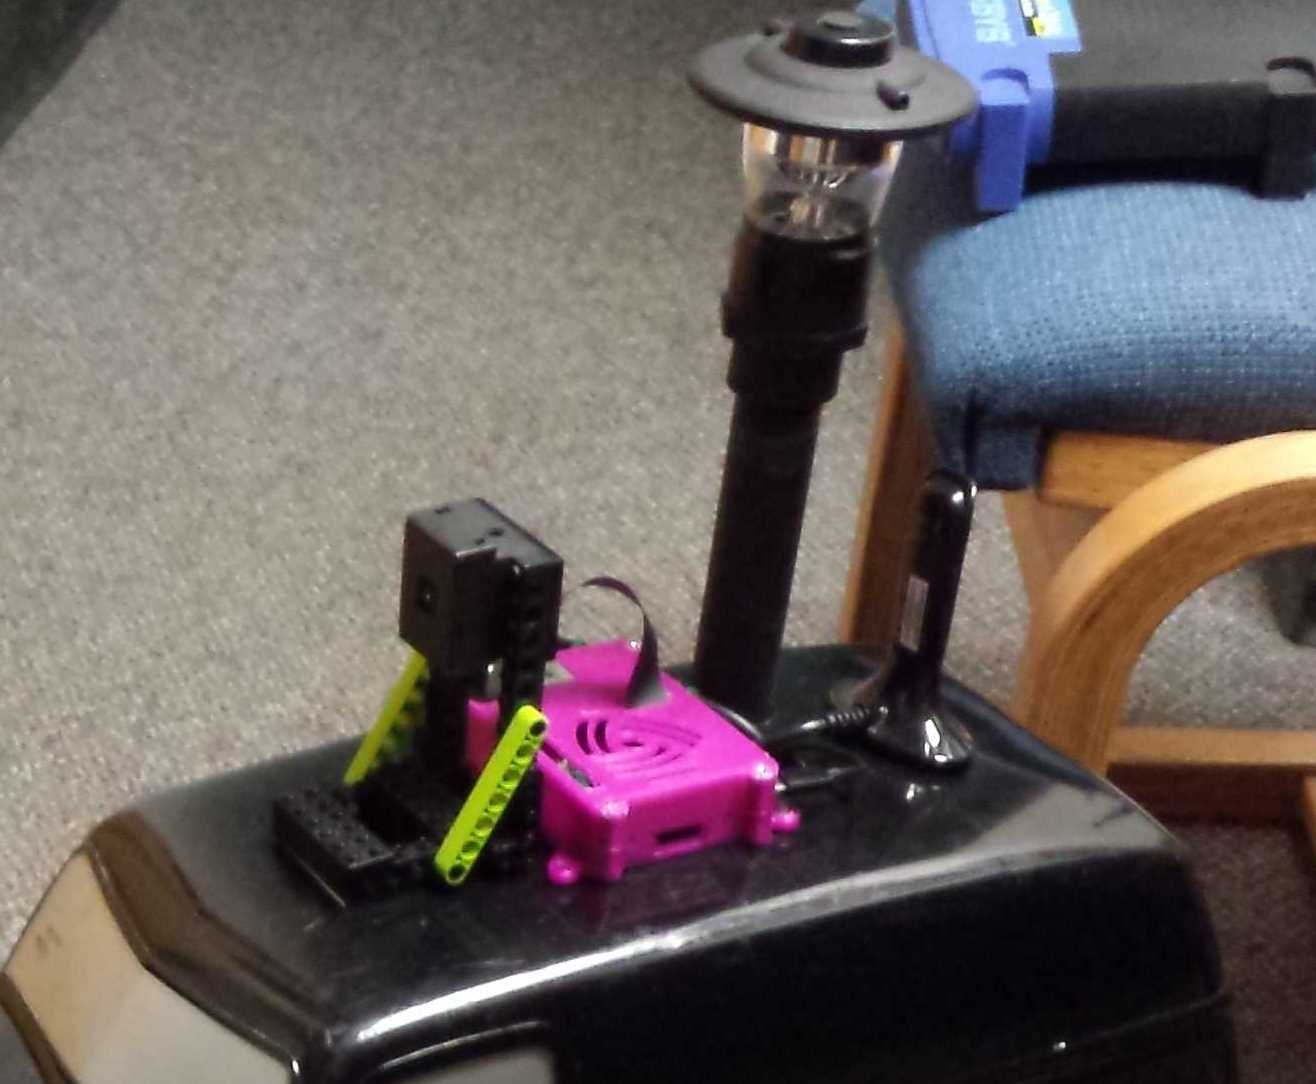
On top of the robot is the raspberry pi, the camera, the wireless dongle, and the RGB LED tower. The raspberry pi case was 3D printed from a design on Thingiverse and the camera mount was made out of Lego. The Arduino, the camera, and the wireless dongle are all powered by the raspberry pi, which is turn powered by a portable cell-phone battery pack.
Opportunities for Future Work
There are a number of things that could be added to the robot. These include:
- Setting up additional servers needed for WebRTC to work cross-network.
- Adding a microphone and a speaker to the robot to support two-way audio.
- Replacing the raspberry pi camera module with a wide angle camera to increase the field of view. This would help with navigation since the robot has a wide turn radius.
- Add various sensors so that the robot can learn about its environment.
- Changing the robot body to use differential drive instead of steering. This would make it a lot easier to remotely maneuver the robot.
So that is how you go from an old RC car to a web controlled robot. Just be warned: If you build one, not everyone will like it:

[…] Web Controlled Robot Using Node.js […]
LikeLike